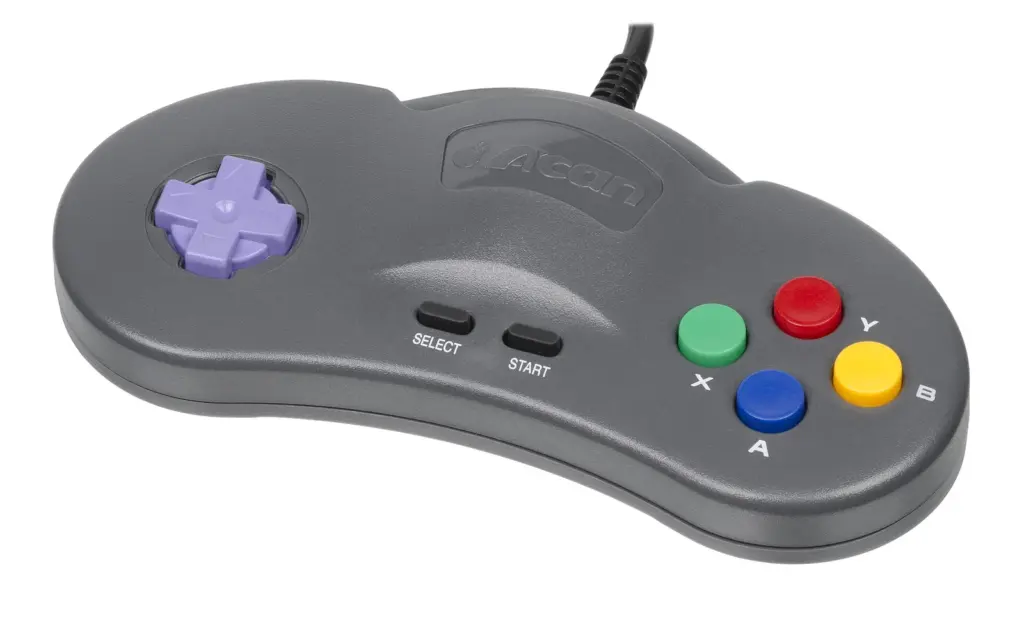
Understanding the Basics of Controller Shell Customization
The concept of a DIY controller shell modification involves replacing the exterior housing of a gaming controller, such as those used for the Nintendo Switch or PS5, with a third-party alternative. This process is not merely about changing the color or aesthetic appeal of the device. Instead, it fundamentally alters the tactile experience and can potentially improve the longevity of the hardware. The core elements of this customization include the front faceplate, the back grip, and the internal chassis that holds everything together. A thorough understanding of these components is essential before attempting any modification. The reference to DIY and evaluation reviews highlights that users often seek to upgrade from the standard plastic finish to something more durable or visually striking, such as transparent or matte finishes that resist fingerprints.
The primary motivation for undertaking such a project often stems from a desire to repair wear and tear or to personalize the gaming setup. Over time, the original factory shell may become slick with oils, develop cracks, or suffer from stick drift. By opting for a replacement shell, one can address these physical defects while also injecting a sense of individuality into the gear. It is important to recognize that this goes beyond a simple cosmetic upgrade. It is a functional repair and enhancement process that requires a specific set of tools and a careful approach to handling delicate electronics. The value proposition here lies in revitalizing an older controller rather than purchasing a brand new unit, which is both economically efficient and environmentally friendly.
The Mechanics of Fit and Functionality
Delving into the basic principles and working mechanisms reveals that a controller shell is more than just a protective cover. It serves as the structural foundation for the electronic components. The motherboard, battery, rumble motors, and button membranes all rely on precise mounting points within the shell to function correctly. When a third-party shell is manufactured, the molds must replicate the exact dimensions of the original OEM design. Even a deviation of a fraction of a millimeter can lead to significant issues. For instance, if the mounting posts for the joystick modules are too high, the analog sticks will not sit flush against the faceplate, causing them to rub or stick. Conversely, if the posts are too short, the buttons may not make contact with the circuit board, resulting in input failures.
The mechanism of action for button presses relies on the travel distance being perfectly calibrated within the shell housing. The replacement shell must account for the specific tactile switches and rubber domes used in the controller’s design. A common issue discussed in maintenance circles is the “mushy” feel of buttons after a shell replacement. This usually occurs because the new plastic housing has slightly different tolerances for the button plungers. Furthermore, the shell must accommodate the specific routing of ribbon cables and the placement of the battery. A well-designed shell will include channels and clips to secure these loose parts, preventing them from pinching or shorting out during gameplay. Therefore, the working mechanism is a symbiotic relationship between the rigid plastic exterior and the flexible electronic interior.
Evaluating Material Quality and Texture
Identifying key features and establishing judgment standards for a replacement shell is critical for a successful outcome. The market is flooded with options ranging from high-grade polycarbonate to cheaper, brittle ABS plastics. High-quality shells typically utilize materials that resist UV yellowing and offer a texture similar to the original equipment manufacturer. One of the most significant features to look for is the surface finish. Many gamers prefer a matte or soft-touch finish because it provides better grip during intense gaming sessions. In contrast, a glossy finish might look sleek initially but tends to become slippery and show fingerprints almost immediately.
Another standard for judgment involves the precision of the cutouts. The holes for the USB-C port, the headphone jack, and the vents must be laser-cut to exact specifications. If these apertures are not aligned correctly, plugging in a charging cable could damage the port, or inadequate ventilation could lead to overheating. The texture of the grips is also a paramount consideration. Some replacement shells come with enhanced grip patterns or rubberized coatings. While these can improve comfort, they must not interfere with the sliding mechanism of any rail systems, particularly on controllers like the Switch Joy-Con or Pro Controller. Evaluating these features before purchase requires reading detailed reviews and looking for close-up photos of the seam lines and screw holes to ensure a professional-grade fit and finish.
The Installation Process and Maintenance
Analyzing actual application scenarios demonstrates that the installation process is where the theoretical value of the shell is tested. The procedure typically begins with the safe removal of the old shell. This involves using specialized screwdrivers, such as a Y00 or PH0, to remove the security screws found in modern controllers. It is advisable to take clear photos or refer to a schematic of the original layout to ensure components can be returned to their correct positions. During the transfer of parts, the ribbon cables connecting the motherboard to the small boards for the buttons and joysticks require extreme caution. These cables are fragile and can tear if pulled aggressively.
Once the internal components are moved to the new shell, the reassembly phase begins. This is often where patience is tested. The challenge lies in tucking the battery and rumble motors into their designated compartments while trying to snap the two halves of the shell together. It is often helpful to partially tighten the screws in a crisscross pattern to ensure the casing closes evenly without creating gaps. Maintenance and cleaning are easier with a new shell, especially if it is a transparent model that allows one to see dust accumulation. Regular cleaning involves using isopropyl alcohol and a cotton swab to clean around the buttons and analog sticks without disassembling the unit again. Proper maintenance ensures that the investment in a high-quality shell continues to pay off in terms of both performance and aesthetics over the long term.
Troubleshooting Common Modding Mistakes
Clarifying common misconceptions and establishing an advanced learning path is necessary for anyone encountering difficulties. A prevalent misconception is that all replacement shells are created equal. In reality, the quality control varies wildly between manufacturers. A common issue faced by modders is the “drift” or “calibration” error that appears after swapping shells. This is often not a hardware failure of the joystick itself but a result of the joystick housing not sitting perfectly level in the new shell. To resolve this, one must disassemble the controller again and check for any plastic burrs or debris in the joystick slots that might be causing the misalignment.
Another frequent error involves over-tightening the screws. Plastic threads can strip easily, and applying too much torque can crack the new housing or warp it enough to cause button jams. The advanced learning path involves learning how to perform minor modifications to the shell, such as sanding down a slightly tight button hole or filing a misaligned post. Additionally, understanding the electrical safety aspects is crucial. For example, on the PS5 DualSense, the battery is glued to the shell, and removing it requires heat and prying tools. Rushing this step can puncture the battery, creating a safety hazard. By acknowledging these potential pitfalls and learning the correct techniques to mitigate them, enthusiasts can transform a frustrating experience into a rewarding customization project that extends the life of their favorite gaming peripherals.