Preparing Your Workstation
Find a table with good light. Sunlight works best, but a bright lamp will do. You need to see exactly what you are doing before you start scrubbing. Dust is your enemy here, so wipe the table down. If you are working on a Switch or PS5 controller, the plastic attracts dust like a magnet.
Gather your tools. You need a plastic polishing compound. Displex is a common brand, but any dedicated plastic polish works. Do not use toothpaste. It sounds like a cheap hack, but the abrasives in toothpaste are often too harsh or inconsistent for console plastic. You will also need masking tape, several microfiber cloths, and maybe some fine-grit sandpaper if the scratches are deep.
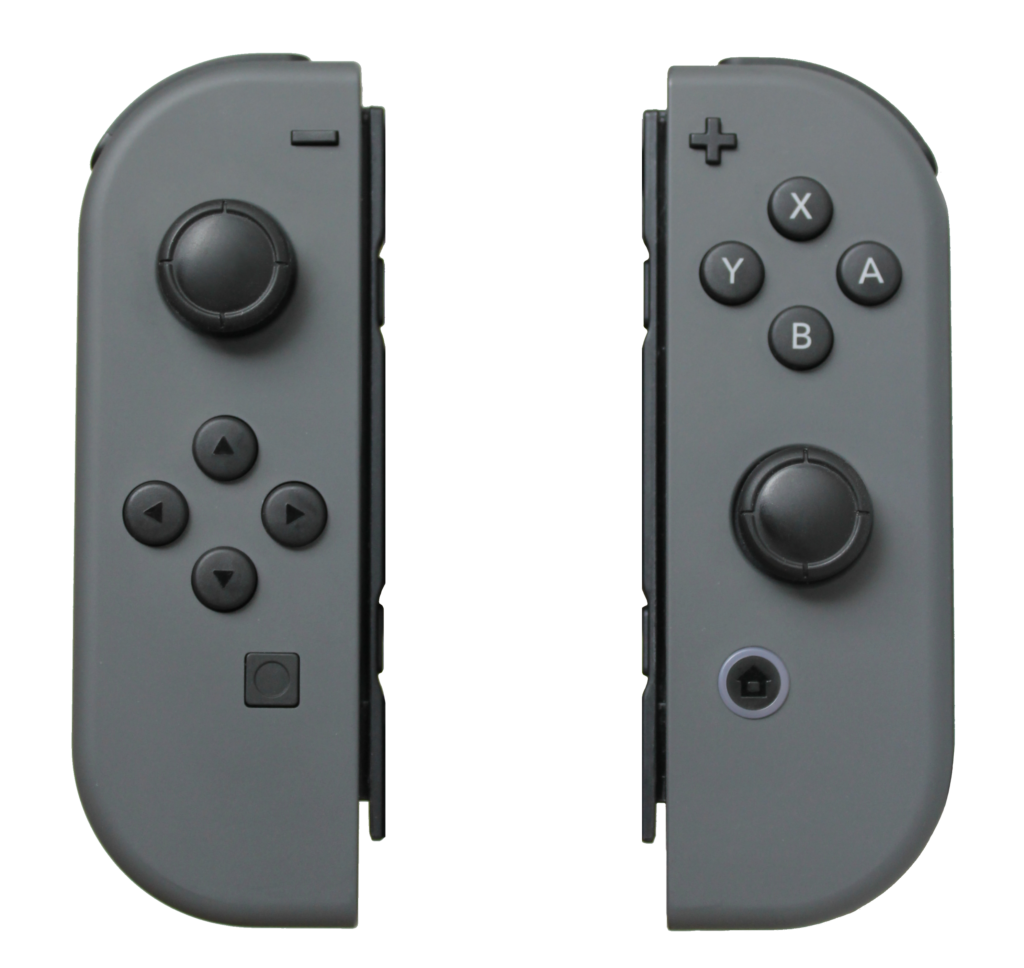
Tape off the areas you are not fixing. If you are polishing the Joy Con rail, cover the analog sticks and buttons. You do not want polishing paste inside the mechanics. It makes them sticky and causes drift later. Tear the tape into thin strips to get a clean line along the edges.
The Step-by-Step Polishing Guide
Start with a clean surface. Wipe the Joy Con down with a damp cloth to remove fingerprints and oils. Let it dry completely.
Check the depth of the scratch. Run your fingernail across it. If your nail catches in the groove, it is deep. If it slides over, it is surface level. This distinction matters. Surface scratches are just scuffs in the clear coat. Deep scratches have removed material.
For surface scratches, apply a small dab of polish to the cloth. Work it into the plastic in a circular motion. Do not press hard yet. Let the abrasives do the work. You will see a black residue form on the cloth. That is the removed plastic layer. Keep the area wet with polish. If it dries out, you are just rubbing dust into the scratch.
If the scratch is deep, start with sandpaper. Use 2000 grit or higher. Wet the sandpaper and the plastic. Sand gently, following the line of the scratch. Do not swirl. Once the scratch feels smooth to the touch, switch to the polish.
Buff the area until the haze disappears. This takes time. It might take ten minutes of rubbing for one small scratch. Your arm will get tired. Switch hands if you have to. Stop periodically and wipe it clean to check your progress under the light.
Key Technical Points
Heat is the enemy. As you rub, friction creates heat. If the plastic gets too hot, it warps or the texture changes. Touch the area with your fingertip often. If it is hot, stop and let it cool down.
Watch out for textured plastic. Most Joy Cons have a matte finish on the back and a glossy finish on the front or around the rails. Polishing matte plastic makes it shiny. It looks worse than the scratch did because now you have a shiny glossy spot in the middle of a matte surface. Avoid polishing textured areas unless you plan to refinish the whole part.
Less is more. It is tempting to keep going until it is perfect. But you can only remove so much material. If you polish too deep, you might distort the shape or go through a printed logo. Set a mental limit. If the scratch is 50% less visible, call it a win.
Troubleshooting Common Issues
The polish left a haze. This usually means you did not buff it out completely. The residue dried into the microscopic pores. Use a fresh, clean microfiber cloth and buff it again. You can also add a tiny drop of water to reactivate the compound.
The scratch looks worse. This happens if you used sandpaper that was too rough, or if you only sanded the scratch and didn’t blend the edges. You created a valley. To fix this, you have to widen the sanding area to level it out with the surrounding surface. It is scary, but you have to remove more material to make it flat again.
The cloth left fibers behind. Static electricity causes this. Wipe the area with a dryer sheet or blow it off with compressed air before you start the final buff. A clean cotton t-shirt works better than a cheap microfiber cloth that is shedding.
Evaluating the Finish
Take the Joy Con back to a window. Look at it from an angle. Artificial light hides flaws. Sunlight reveals them.
If you can still see the scratch, ask yourself if it is better than before. Usually, it is. Deep gouges might turn into faint shadows. That is the best you can do without repainting or replacing the shell.
Run your thumb over the spot. It should feel smooth. If it catches, there is still a lip. Do a quick pass with the polish. If it feels smooth, you are done. Snap it back onto the console. The distraction of the game usually makes the remaining cosmetic damage invisible.