Why Plastic Turns Yellow
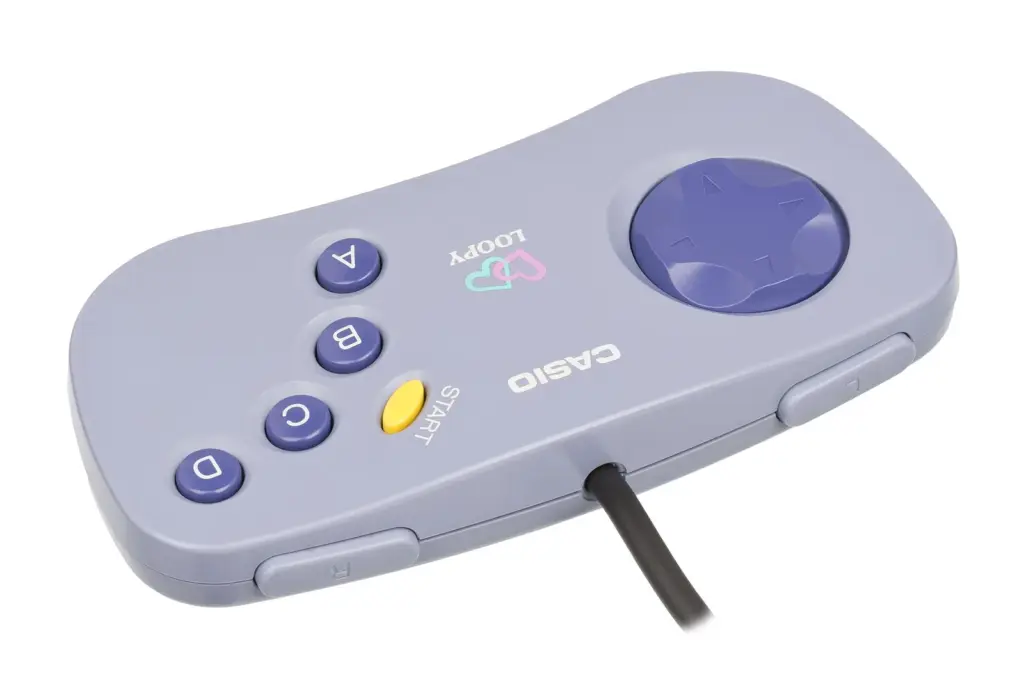
You look at an old white Nintendo controller or a retro computer shell, and it looks like it spent twenty years in a smoker’s lounge. It’s gross. People try to call it “patina,” but let’s be honest—it’s just decay. This isn’t surface dirt that you can scrub off with soap and water. It’s a chemical reaction happening deep inside the plastic itself.
The specific culprit is usually the fire retardant. Manufacturers used to add bromine to ABS plastic to keep it from catching fire. Great for safety, terrible for aesthetics. Over time, exposure to UV light breaks the bond between the bromine and the plastic molecules. That freed bromine turns brown. Since the plastic is white or light gray, that brown oxidation shows through clearly. It’s basically a sunburn for your electronics.
How Retrobrighting Works
The standard fix is a process called “Retrobrighting.” It sounds like a marketing term, but it’s actually just chemistry. You need two things: a hydrogen peroxide solution and UV light. The peroxide penetrates the plastic and breaks down the oxidized bromine. The UV light acts as a catalyst, speeding up the reaction. When it works, it’s like magic. The brown stuff literally vanishes, and the white returns.
It sounds simple, but it’s finicky. You can’t just slap some stuff on and walk away. The concentration of the peroxide matters—a lot. The stuff you buy at the drugstore (3%) is usually too weak to do anything significant in a reasonable timeframe. You need something stronger, often found in hair salons or specialized chemical suppliers.
Choosing Your Method
There are two main ways to do this: the paste method and the submersion method.
The paste method is easier for small parts like controller shells. You buy “40 volume” cream developer from a beauty supply store. It’s a thick, goopy hydrogen peroxide cream. You paint it onto the plastic, wrap the whole thing in cling film to keep it from drying out, and stick it under a UV lamp or in direct sunlight. You check it every hour. It usually takes 4 to 6 hours.
The submersion method is messier but often more consistent for larger pieces. You need a tub, 12% hydrogen peroxide liquid, and a UV light source. You completely drown the plastic parts in the liquid. This keeps the reaction going evenly without worrying about the paste drying out. The downside? You have to handle gallons of peroxide, which is a hassle, and you need to keep the liquid warm for it to work well.
The Risks and Realities
I have to be real with you: this process can go wrong. If you leave the plastic under UV light for too long, it doesn’t just stop at white. It can turn brittle or develop a weird, chalky texture. I’ve seen controllers that looked great for a week and then started cracking along the screw holes because the plastic structure was compromised.
There’s also the “re-yellowing” problem. The oxidation process is unstable. Even after you treat it, the bromine is still there. If you put the controller back in a sunny windowsill, it will yellow again—often faster and blotchier than before. The only way to truly stop it is to seal the plastic with a UV-resistant clear coat, but that changes the feel of the controller. It feels like plastic wrapped in plastic.
When to Just Buy a Replacement
Sometimes, the best “restoration” method is admitting defeat. If the yellowing is accompanied by deep scratches, bite marks, or structural damage, no amount of peroxide will fix it. You can spend $30 on chemicals and UV lights, or you can just buy a brand-new aftermarket shell for $15.
For modern controllers like the PS5 DualSense or Switch Pro controllers, replacement shells are everywhere. Taking the controller apart to swap the shell is a pain—you need a precise screwdriver and steady hands—but the result is perfect. You get a factory-white finish that won’t yellow for years. It’s less satisfying than fixing the original, sure, but it’s a lot less frustrating than watching a restoration job fail.