What You’re Actually Getting Into
Buying a third-party shell for your Switch or PS5 controller feels like a win. The stock finish is worn, shiny from hours of sweaty palms, or maybe you just hate the white plastic. You see a transparent purple housing on eBay for twelve bucks. You click buy.
Two weeks later, a bubble mailer arrives. Inside is a pile of plastic parts, a bag of screws, and a tiny cross-head driver. You dump it on the table. It looks simple. It’s not.
Most people approach this like they’re changing a battery. Pop the back off, swap the guts, close it up. But controller shells are held together by more than just screws. They use friction, tension, and brittle plastic tabs that snap if you look at them wrong. If you rush this, you won’t have a cool new controller. You’ll have a pile of loose electronics and a casing that doesn’t close.
This isn’t about being gentle. It’s about leverage and knowing where to push.
The Anatomy of a Snap-Fit
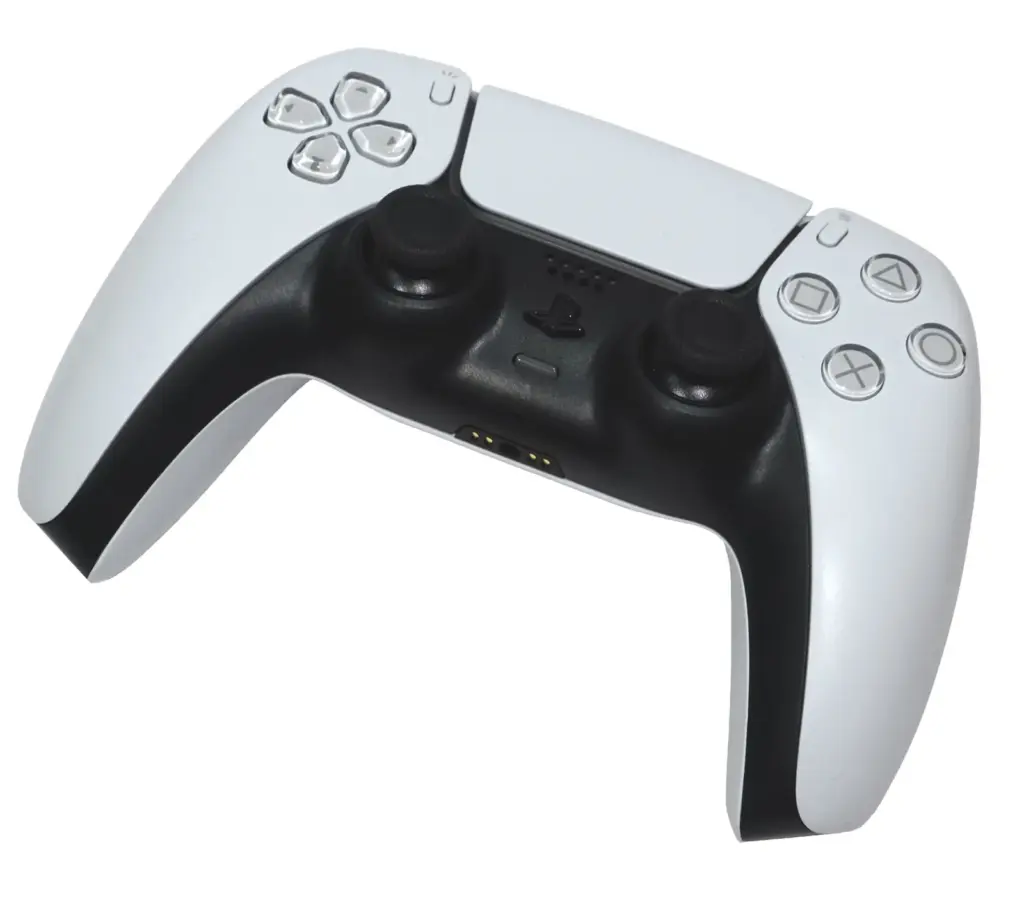
The hidden enemy here isn’t the screws. It’s the plastic clips. Manufacturers design these things to be assembled quickly by robots, not disassembled carefully by humans. The clips on a standard PS5 DualSense or Switch Joy-Con are small. They are white. They break before they bend.
When you try to pry the case open with a flathead screwdriver because you can’t find your spudger, you are already making a mistake. The metal slips. It gouges the plastic. You apply more force. Suddenly, there’s a sharp crack.
That sound is a DIY modding fail you can’t undo.
You need to know where the clips are before you touch the case. On a Switch Pro Controller, most are along the seam near the handles. On a DualSense, they hide under the grip texture. If you pull the halves apart vertically without sliding them first, the clips shear off.
A good habit is to run a plastic pry tool along the seam first. Listen for the sound of the tool clicking against the plastic tabs. Don’t pry yet. Just map out where they are. Once you know the locations, you can apply pressure exactly where the tab releases, not on the fragile plastic bridge holding it.
Ribbon Cables and Why They Tear
The shell is just the housing. The dangerous part is what’s inside.
Ribbon cables are the nerves of the controller. They connect the motherboard to the battery, the USB board, the rumble motors, and the touchpad. These cables are not wires. They are flat, flexible plastic circuits with copper traces inside. They are designed to be folded once, in the factory, and never touched again.
When you open the controller, the cables are often pulled tight. If you yank the shell apart, the cable tears. It doesn’t rip all at once. Usually, the copper traces inside snap, leaving the plastic intact. This is the worst kind of damage because you can’t see it. You put the controller back together, plug it in, and nothing happens.
The ZIF (Zero Insertion Force) connectors are another trap. To release a ribbon cable, you must flip up the tiny brown plastic latch on the socket. Most people try to pull the cable out without lifting the latch. The cable holds firm. They pull harder. The connector rips off the motherboard, or the cable shreds.
Use your fingernail or the tip of your plastic tool. Gently flip the brown latch up. It only moves about two millimeters. Don’t force it. If it feels stuck, stop. Look at it from an angle. You might be trying to lift the wrong side.
Screws, Strippers, and Lost Parts
The screwdriver included in those cheap shell kits is usually trash. The metal is soft. The tip is molded poorly. You put it in the screw head, apply torque, and the tool rounds out the screw head.
Now you have a screw stuck in the controller that nothing can turn.
This is one of the most common DIY controller mistakes. Before you start, check your own tools. A decent Phillips #0 or #00 screwdriver is worth the investment. Apply downward pressure. Turn slowly. If the screw feels like it’s fighting you, stop. Back it out. Turn it in. Rock it gently. Loosen the thread lock.
Keep a magnetic mat handy. As you remove screws, place them on the mat in the exact layout they came out of. Controller screws are rarely the same length. The screw near the trigger might be three millimeters longer than the one near the D-pad. If you mix them up, the long screw will punch through the back of the casing or crack the motherboard when you tighten it.
The Heat Gun Trick
Sometimes, plastic parts are glued together. Or maybe you are trying to remove stubborn thumbstick modules that are held in by friction and age.
Heat helps. You don’t need a professional heat gun. A hair dryer works fine.
Set it to low. Blow hot air over the seam for thirty seconds. The plastic becomes more flexible. The glue softens. This is especially useful for separating the Joy-Con rails or the faceplate from the body.
Don’t melt it. If the plastic starts to shine or warp, you went too far. Just warm it up so it gives a little. This reduces the chance of snapping the outer shell when you pry it.
Putting It Back Together
Reassembly is where the real frustration sets in. You have the new shell. You have the motherboard. You have the battery and the rumble motors. You try to squeeze them all in.
It won’t fit.
The tolerances on third-party shells are often tighter than the originals. The molding isn’t as precise. A ridge of plastic might be blocking a port. A screw hole might be misaligned by a fraction of a millimeter.
Don’t force it. If you press the two halves together and you see a gap, something is in the way. It could be a ribbon cable folded the wrong way. It could be the battery sitting too high.
Check the alignment of the shoulder buttons (R1/L1 or R/L). These are notorious. The springs inside the triggers love to pop out of their tiny plastic perches during reassembly. If you close the shell with a loose spring, the button will feel mushy or won’t click.
Test the buttons before you screw the shell shut. Press every face button. Push the triggers. Click the sticks. If something feels wrong, open it back up. It’s a pain, but it’s better than driving screws into a broken mechanism.
When It All Goes Wrong
You will break something eventually. Maybe a clip snaps. Maybe a screw strips. It happens.
If a clip breaks, don’t panic. A small drop of super glue gel can sometimes hold the casing together if the break is clean. But be careful—glue is conductive. Don’t let it drip onto the circuit board.
If a screw is stripped, try a rubber band. Place a piece of rubber band over the screw head, press your driver into it, and turn slowly. The rubber fills the gaps and gives the driver grip.
If you rip a ribbon cable, you might be out of luck unless you have soldering skills and a replacement part. This is why you buy the shell from a reputable seller. The cheap ones often don’t include replacement cables or support.
Modding is a skill. You learn more from the projects that go wrong than the ones that go right. The next time you see a transparent purple shell, you’ll know exactly what you’re getting into. You’ll grab the right screwdriver, heat up the plastic, and listen for the click of the clips.